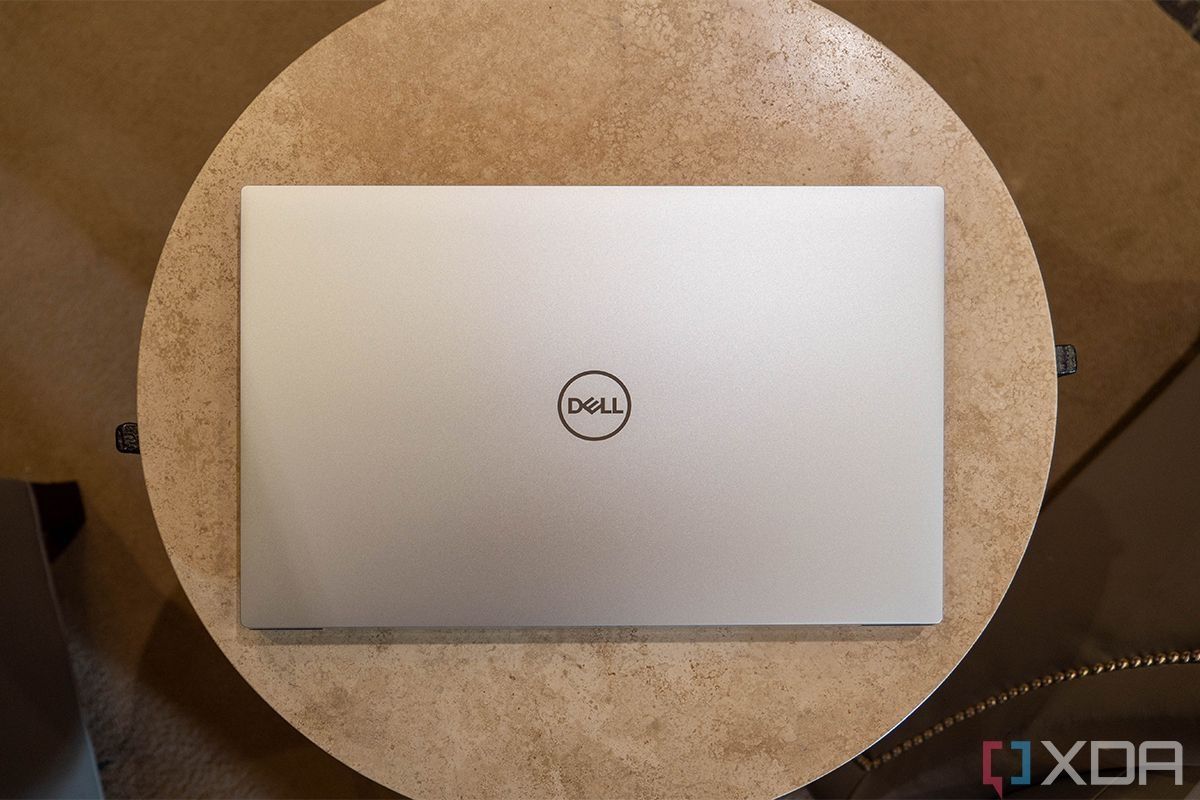
If you take a look at the 2023 Dell XPS 17 on the company's website, you'd be hard-pressed to argue that it doesn't have enough storage. With options to go up to a massive 8TB of SSD capacity, you can definitely get more storage than most people will ever need. The problem is this massive amount of storage is extremely expensive, and even if you do want it, this kind of configuration isn't available at every retailer. It's very likely you got just 1TB or 2TB if you bought it somewhere else.
To be clear, even 1TB is a lot of space for documents, music, and more, but if you find that you need a bit more, a better option is to get that configuration first and then upgrade the storage later. You can save money by buying your own SSD and installing it, and even if the cost ends up being similar, at least you don't have to spend it all at once. As such, let's take a look at how you can upgrade the storage inside the Dell XPS 17 (2023).
What you'll need
For starters, before you get into opening up your laptop, it's important to make sure you have everything you need. This starts with, of course, the SSD. The Dell XPS 17 has two M.2 2280 slots, meaning it supports most standard m.2 SSDs. A good option is something like the Samsung 990 Pro, but if you want something with 4TB, there's also the Sabrent Rocket 4 Plus.
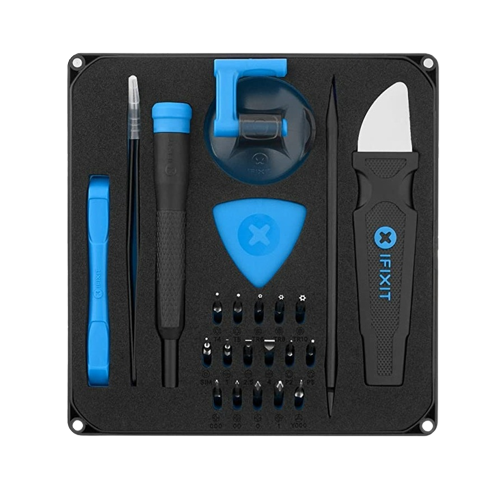
In addition to this, you'll need tools to get inside the laptop. These include a Torx T5 screwdriver to open the base, and a Philips screwdriver to remove the SSD. You may also want a plastic prying tool to help you remove the base cover. All of this can be had with the iFixit Essential Electronics Toolkit.
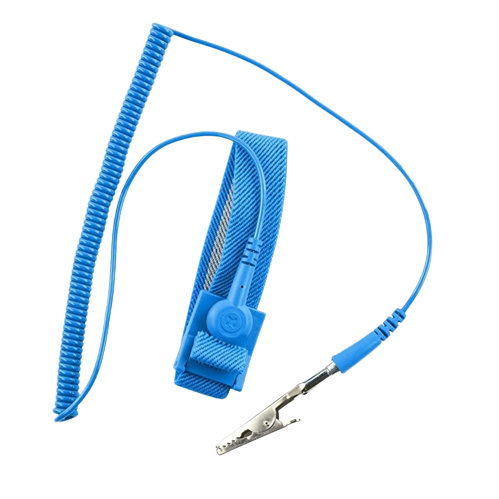
Finally, an anti-static wrist strap is also important to help prevent electrostatic discharges while you work inside the computer. These discharges can damage the components, so it's a good idea to play it safe.
Back up your data and prepare a Windows installation
If you're upgrading the storage on the Dell XPS 17 by replacing an existing SSD, you're going to want to back up your data to an external drive or a cloud service like OneDrive so you don't lose any of it.
You may also need to create an installation drive for Windows. Check out our guide on how to install Windows 11 on a new PC to learn more about this process. We've included the steps you need for before and after you've replaced the SSD.
Since the Dell XPS 17 has two M.2 slots, it's likely that your model only has one slot in use. All configurations, aside from the 8TB model, should have a free slot. As such, if you're only adding a new SSD and not replacing your existing one, you shouldn't need to worry about backing up your data or installing Windows 11 again.
Upgrading the storage in the Dell XPS 17
Once you have all the tools, you can get started with the upgrade. Follow these steps:
- Turn off the laptop completely and unplug any accessories and cables from it.
- Lay the laptop with the bottom cover facing up and the hinge facing away from you.
- Use the Torx T5 screwdriver to remove the eight screws holding the base cover in place.Source: Dell
- Use a fingernail or plastic prying tool to detach the base cover, starting from the bottom corners.Source: Dell
- Lift the base cover to remove it completely. The SSD slots are located right below the fans, protected by a copper plate.
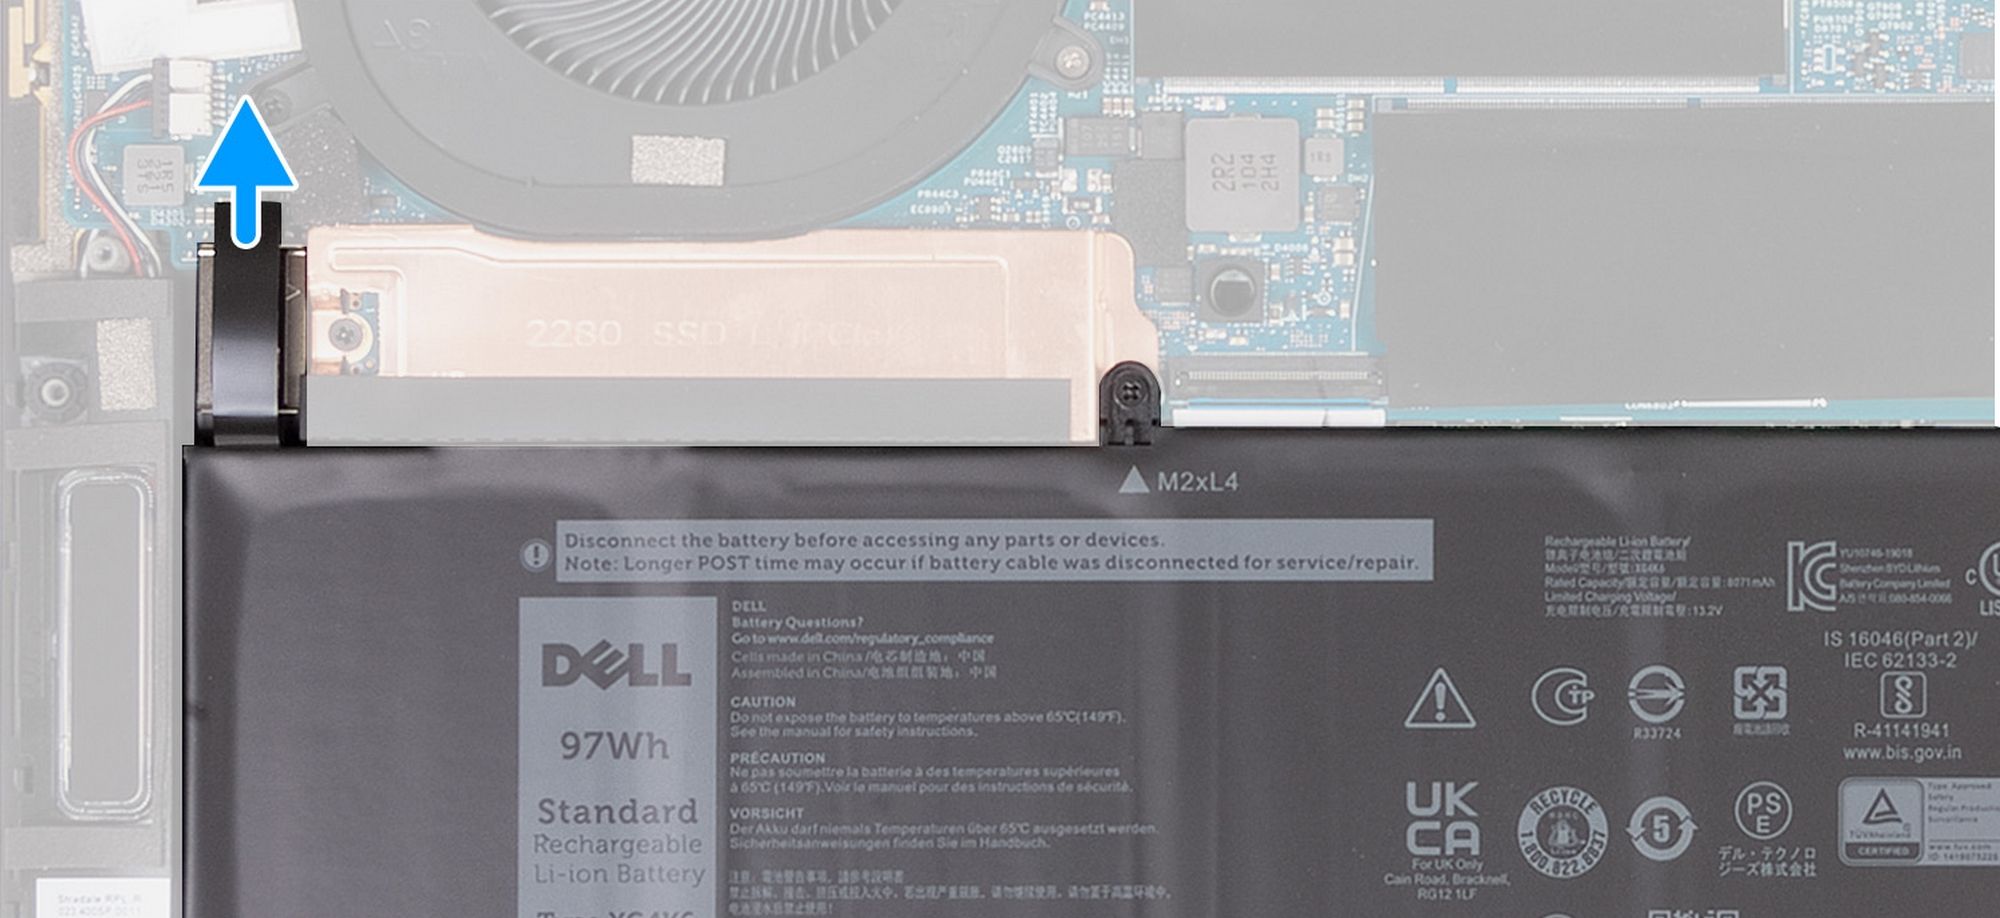
- Before removing the SSDs, disconnect the battery cable from the motherboard. The battery is at the bottom of the laptop, and the connector is near the top-right corner of the battery.Source: Dell
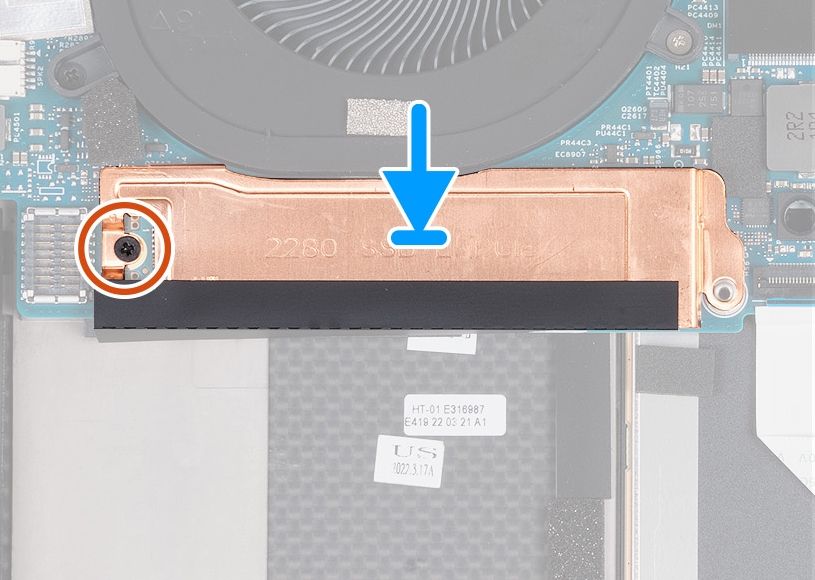
- Use a Philips screwdriver to remove the screw holding the copper plate and SSD in place.
- Remove the copper plate first.Source: Dell
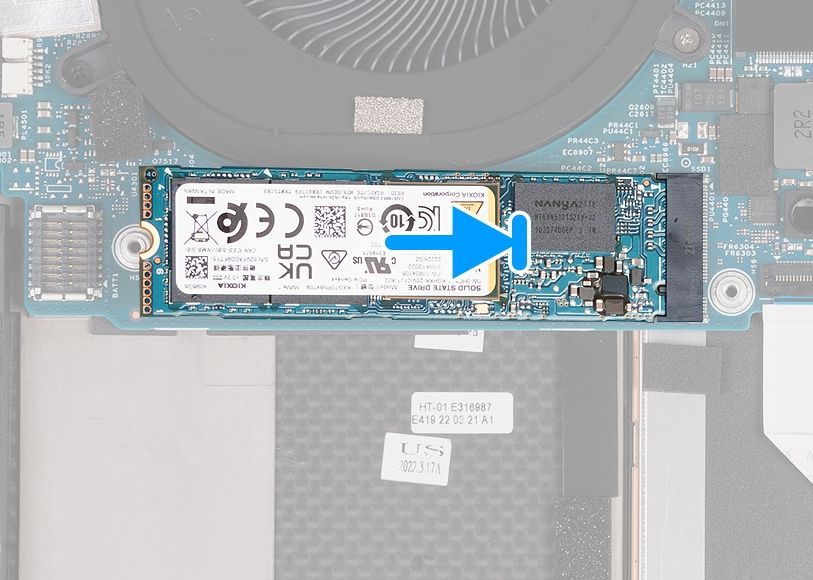
- If the slot already has an SSD installed, remove it by sliding it away from the black slot where it connects to the motherboard.Source: Dell
If you don't want to replace your existing SSD, check the other slot to see if it's free.
- Install the new SSD in the same position as the old one, inserting it at a slight angle. There's a notch in the contact pins that should align with a notch in the connector on the laptop.Source: Dell
- Cover the SSD with the copper plate as it was before.
- Secure the SSD and copper plate using the Philips screwdriver. Be careful to avoid overtightening.Source: Dell
- (Optional) If you're upgrading both SSD slots, repeat steps 6 through 11 for the second slot.
- Connect the battery cable to the motherboard.
- Re-attach the base cover to the laptop, and secure it with the eight Torx screws.
And that's it! All you need to do now is install Windows 11, assuming you replaced the SSD that was previously installed, and then restore any data you need on the new SSD. You're now free to use your Dell XPS 17 with upgraded storage.
If you haven't yet, you can buy the Dell XPS 17 below. If you think it's a bit too much for you, there are plenty of other great laptops out there, but they won't all allow you to upgrade the storage as we've described here. You can also check out the best Dell laptops if you want to see some more options from this brand.
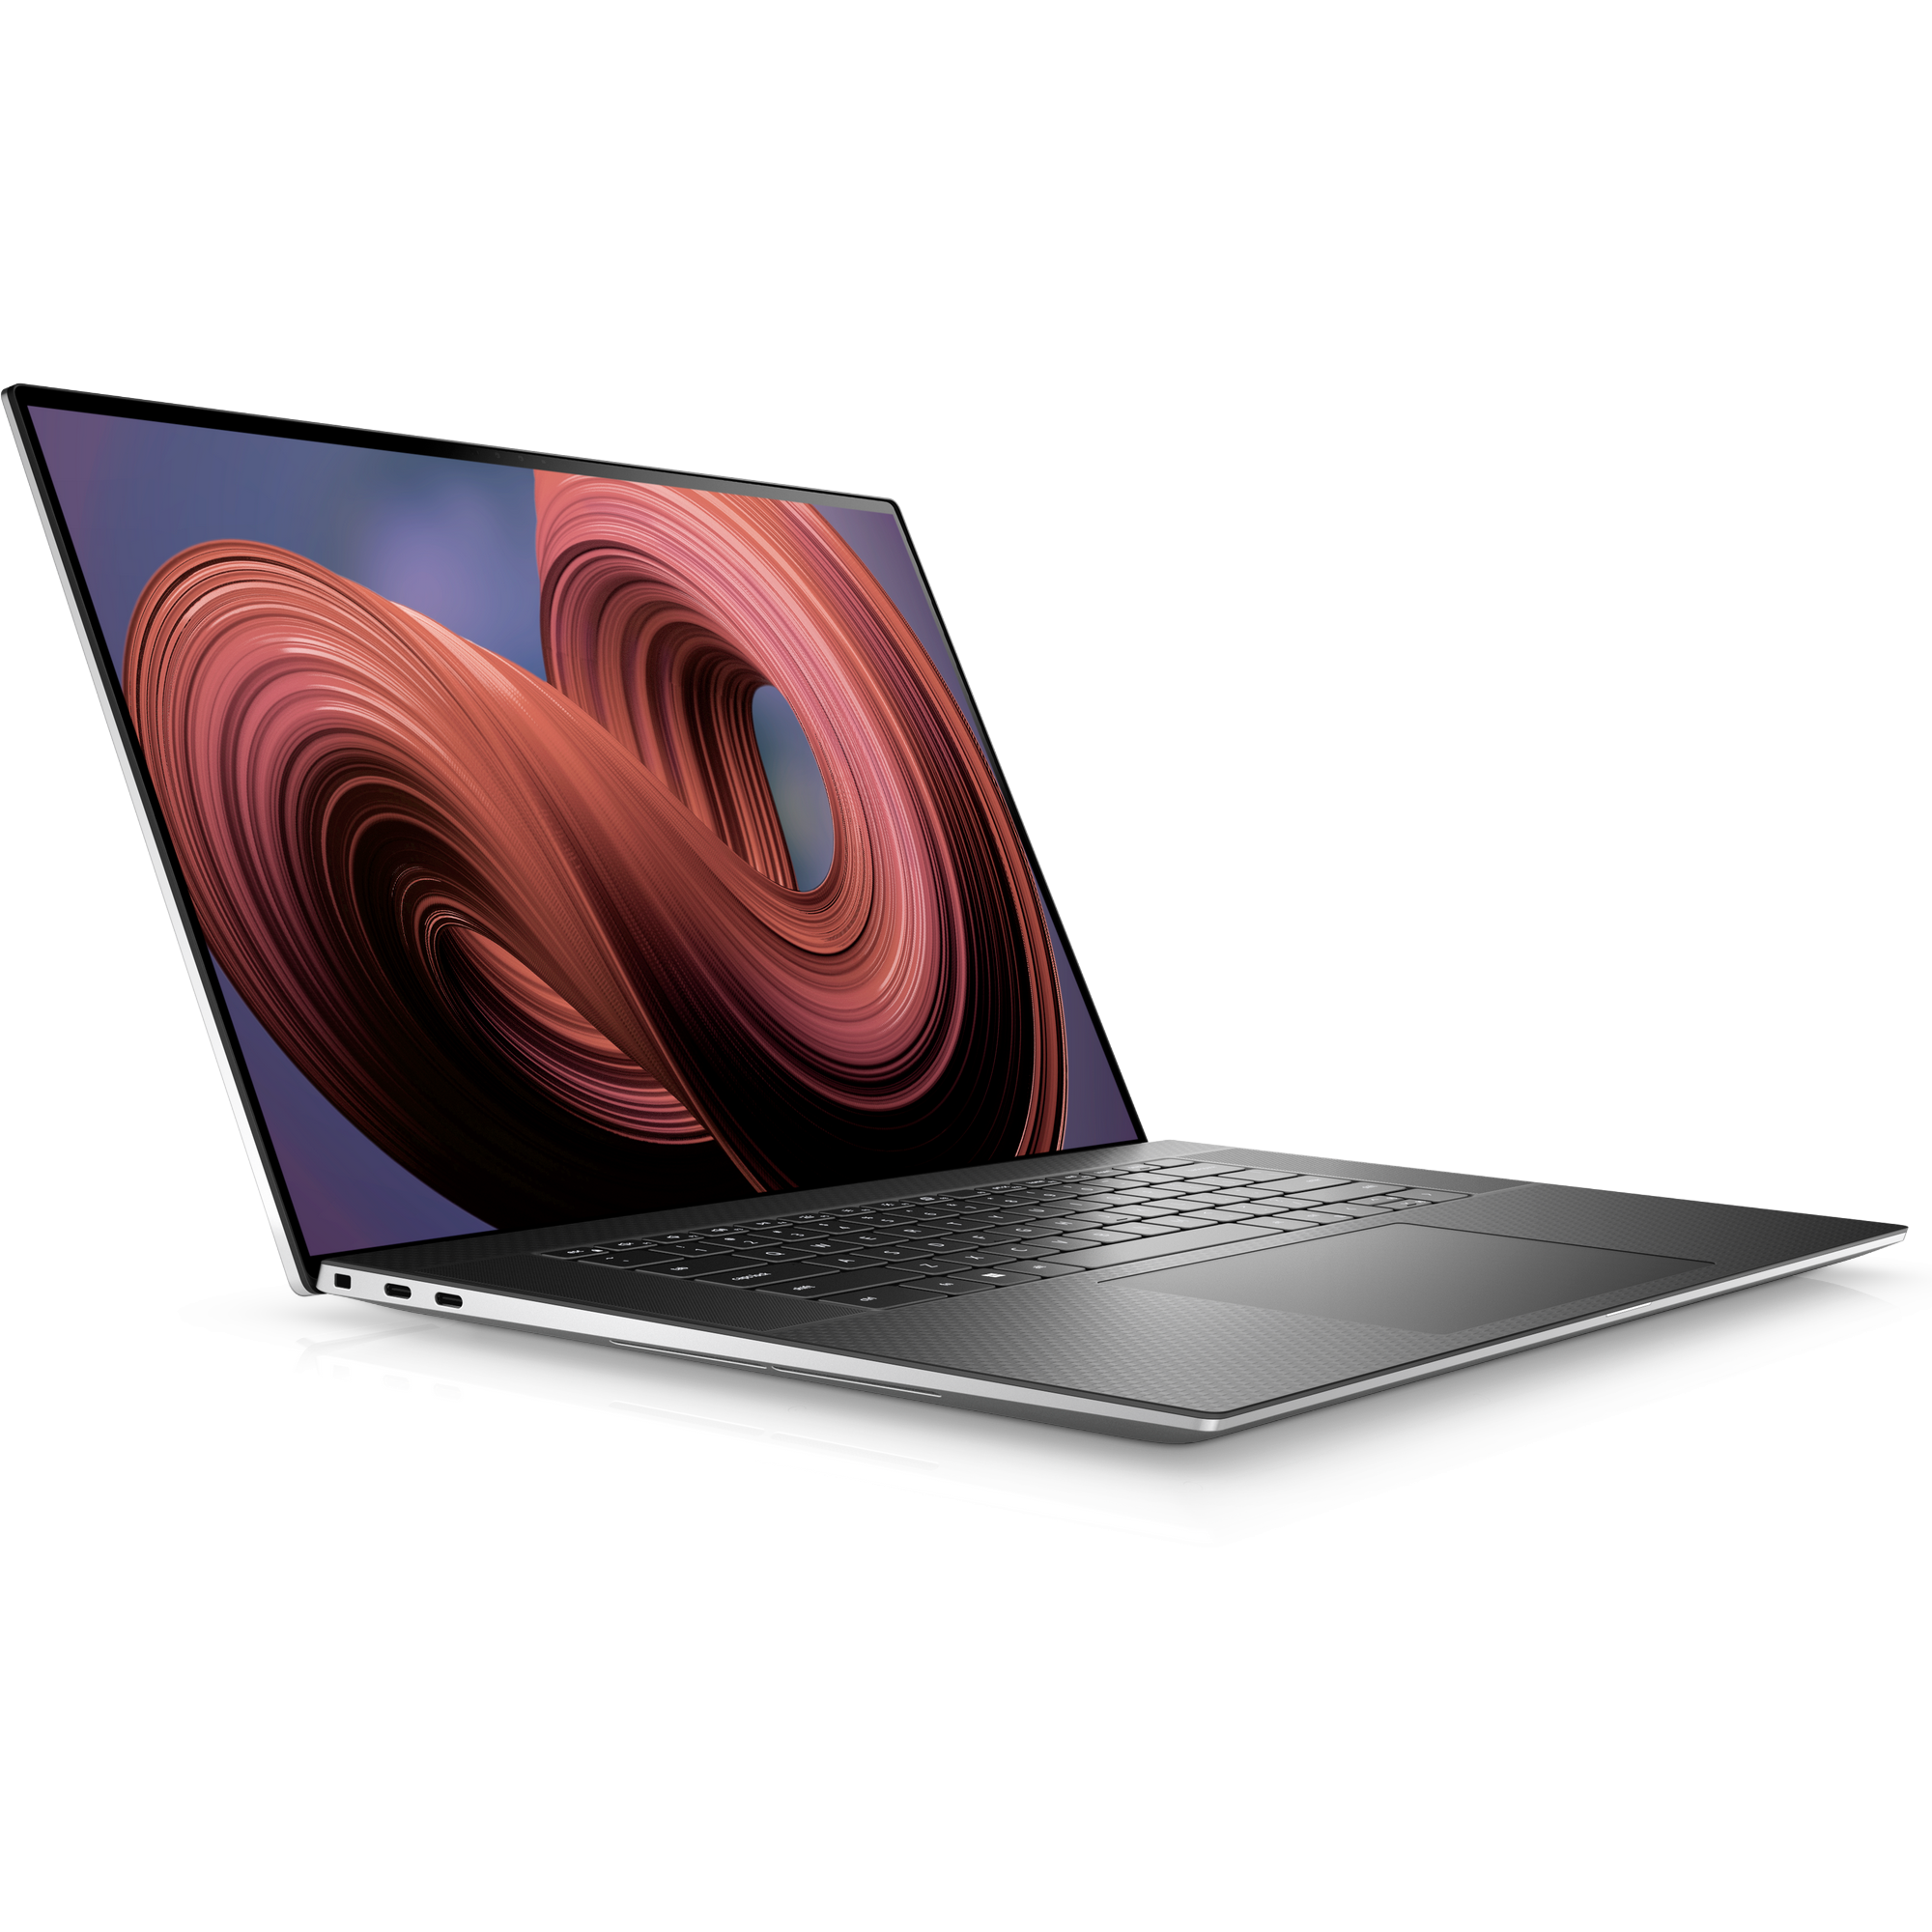
Dell XPS 17 (2023)
The Dell XPS 17 is a relatively small refresh of the 2022 model, but the 13th-generation processors and Nvidia graphics deliver plenty of power. It's still one of the best 17-inch laptops around.

